SyncRange runs inside your Shopify admin. Install from the Shopify App Store, connect destinations, build exports, and schedule automatic syncs without leaving Shopify.
The same SyncRange account, team, and data also work on syncrange.com when you need the full product.
Overview
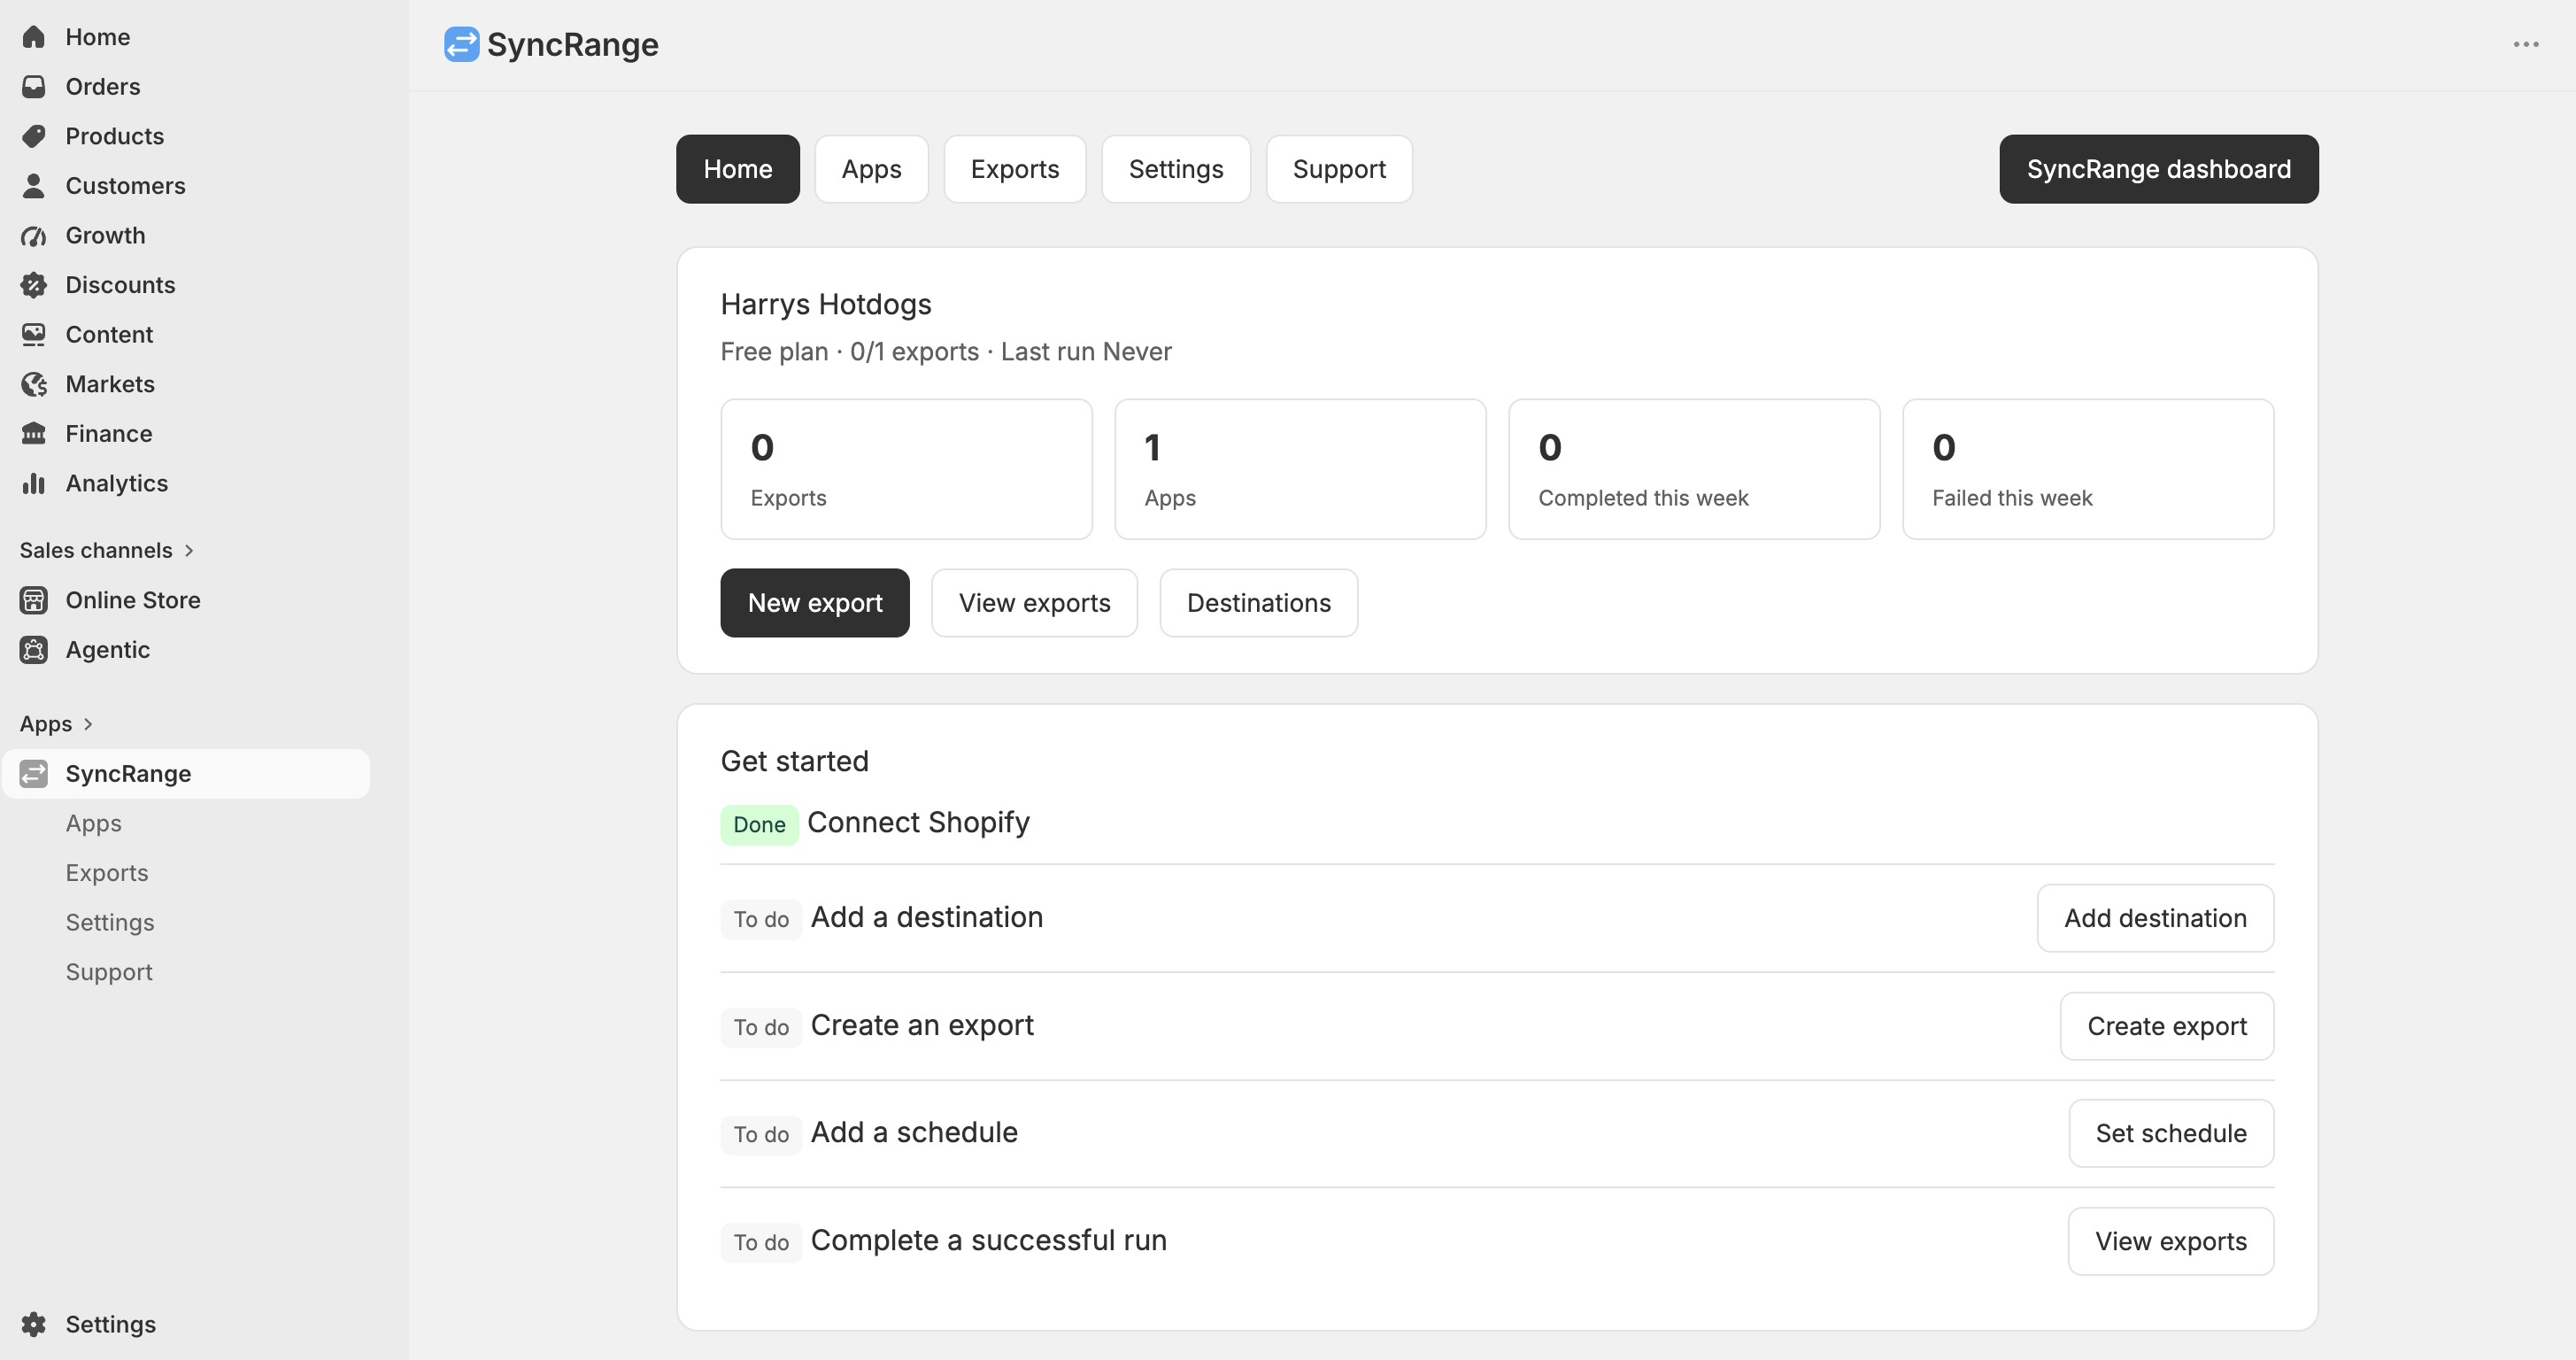
After you install SyncRange from the Shopify App Store, open it from
Apps → SyncRange in your Shopify admin. From there you can:
Connect Google (Sheets and BigQuery) and Microsoft Excel as export destinations
Create and edit Shopify exports with the same column and tab options as syncrange.com
Run exports on demand or on a schedule
Set email notifications for export failures and successes
Review recent runs and connection status from the home screen
Open the full SyncRange dashboard in a new tab for Data Blends, other data sources, and team settings
If you connected Shopify from syncrange.com instead of the App Store, you can still use SyncRange in Shopify admin once the store is linked to your account.
See Connect your Shopify account for that connection flow.
Opening the app
Log in to your Shopify admin.
Go to Apps and open SyncRange.
If this is a new install, complete authorization and billing when prompted.
The SyncRange home screen opens in Shopify admin.
Navigation
SyncRange in Shopify admin uses the same main sections as the SyncRange website:
Menu item
What you do there
Home
Overview, get-started steps, recent export runs, and links to help
Apps
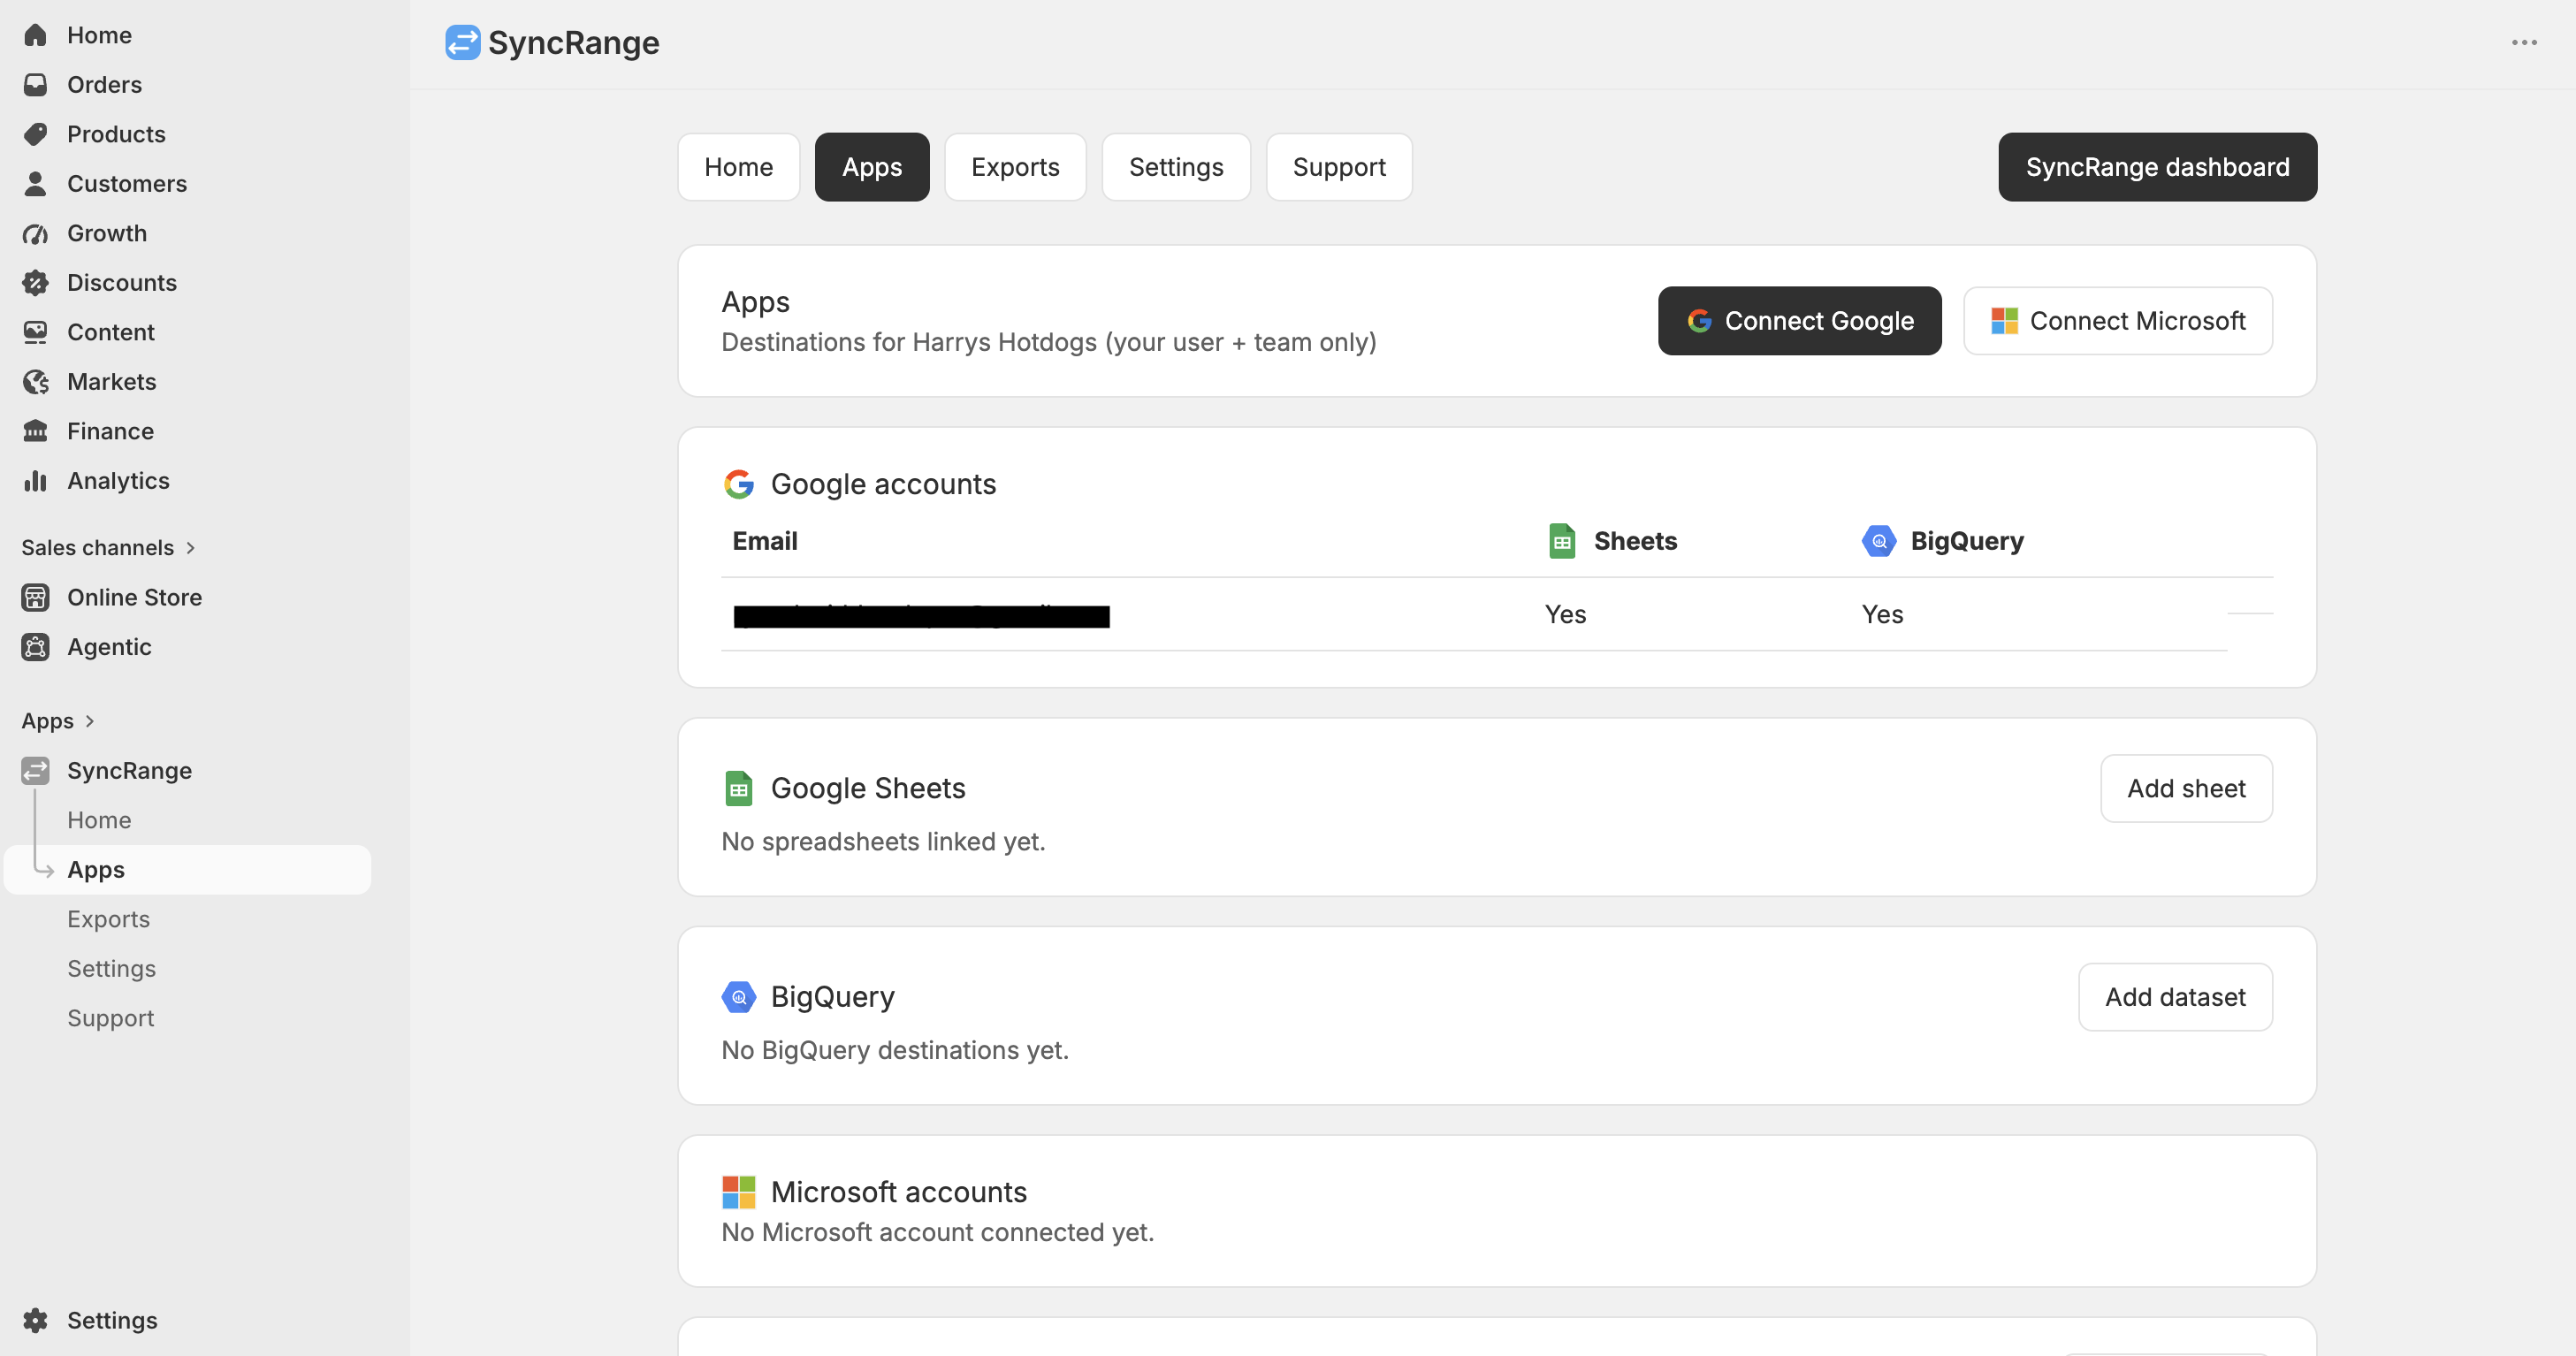
Connect Google and Microsoft accounts; add Google Sheets, BigQuery datasets, and Excel files
Exports
List Shopify exports, create new exports, choose columns, run now, and set schedules
Settings
Store details, plan and billing, reconnect Shopify, and disconnect the store from SyncRange
Use SyncRange dashboard (top right) to open syncrange.com in a new browser tab while staying signed in to the same team and store data.
Recommended first-time setup
Confirm your store is connected
On Settings, verify your store name, plan, and that Shopify access is active. Reconnect if your connection expired or permissions changed.
Add destinations in Apps
Open Apps and connect Google (Sheets, and BigQuery if you need a warehouse destination) or Microsoft for Excel.
Google and Microsoft sign-in may open in a new browser window briefly, then bring you back to SyncRange in Shopify admin.
Google Sheets: connect Google, then Add sheet to create or attach a spreadsheet
BigQuery: connect Google with BigQuery access, then Add dataset
Excel: connect Microsoft, grant Excel access if prompted, then add a workbook from OneDrive or SharePoint. For SharePoint, pick a site and document library, then browse folders or search for an existing .xlsx file. SyncRange asks for SharePoint browse permission the first time you choose SharePoint.
Create an export
Go to Exports → New export, choose a destination, then pick tabs and columns on the configure screen.
See Configure Shopify for tab and column details.
Run once, then schedule
From the export detail page, run manually to confirm the output, then set a schedule.
See Set an export schedule.
Apps (destinations)
The Apps page is where you manage where your Shopify data is sent. Accounts and destinations shared with your team appear here.
Google
Connect Google with Sheets access for spreadsheets. For warehouse exports, connect with BigQuery access or use Add BigQuery access on an existing Google account.
If a connection needs attention, use the reconnect or permission buttons on that row.
Remove on a sheet, dataset, or Excel file stops SyncRange from using it; your file in Google or Microsoft is not deleted.
Exports
Each export sends data from your connected Shopify store to one destination (Sheet, BigQuery table, or Excel file).
You can create multiple exports for the same store, for example separate exports for orders and products.
New export: name, destination, then choose tabs and columns
Edit: update columns and tabs (destination cannot be changed after create)
Run now: starts an export immediately
Schedule: daily, weekly, and other options depend on your plan
Notifications: bell icon on the export detail page for failure and success emails (same settings as syncrange.com)
Recent runs: status and timestamps on the export detail page
View store details (name, domain, currency, Shopify plan)
Change or review your SyncRange plan through Shopify billing
Reconnect Shopify if access expired or permissions changed
Disconnect the store from SyncRange (your exports are kept; reconnect anytime to resume)
Plan limits (such as export count and schedule options) work the same as on syncrange.com.
See Subscribing to a Plan.
Full SyncRange dashboard
SyncRange in Shopify admin focuses on Shopify exports and core destinations. For everything else, use SyncRange dashboard to open syncrange.com in a new tab with the same login and team:
Other data sources (Meta, Google Ads, LinkedIn, TikTok, and more)
Data Blends across multiple sources
Team members and account settings
AI assistant connections
Troubleshooting
Google or Microsoft sign-in did not return to Shopify
Sign-in may open in a separate browser window. If you end up on syncrange.com outside Shopify admin, close that tab and open SyncRange again from Apps → SyncRange.
Your connection may still have succeeded; check Apps for the new account.
Export failed or destination missing
On Apps, confirm your Google or Microsoft account is connected with the right access and that the sheet, dataset, or Excel file is still listed.
Run the export again from Exports and check the status on the export detail page.
Need help
Email [email protected] or open Support inside the SyncRange app in Shopify admin.

 Install on Shopify